
Regular maintenance and timely repairs around the home are essential for keeping your living space safe, comfortable, and valuable. Many homeowners with custom homes overlook routine checks until problems become urgent, which can lead to costly repairs and decreased property value. Taking a proactive approach to home care not only extends the life of various components—such as electrical systems, roofing, and plumbing—but also helps prevent hazards like leaks, electrical fires, or foundation issues.
From electrical repair and chimney inspections to septic tank cleanings and furnace repair, there are many crucial tasks that demand attention throughout the year. Engaging trusted general contractors or a local home builder for complex projects ensures professional quality and safety. By understanding how to identify early warning signs and perform basic maintenance tasks yourself, you can save time, reduce expenses, and maintain the comfort of your custom home. This article covers practical tips and step-by-step guides for the most common repairs and checks around the home to help every homeowner stay ahead of potential issues.
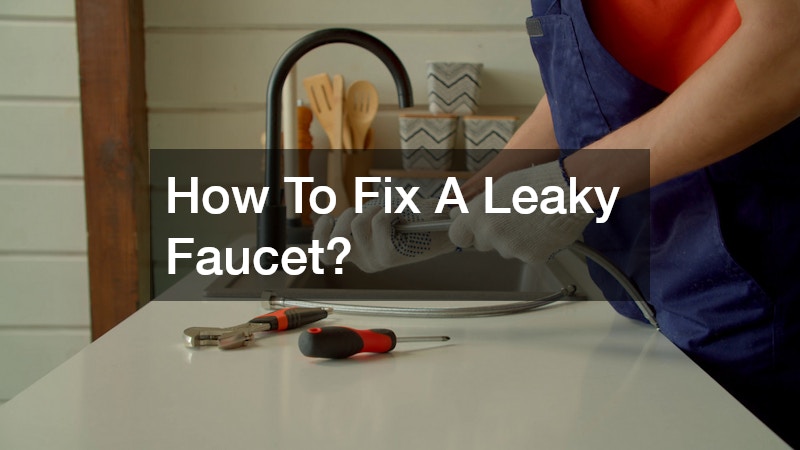
How To Fix A Leaky Faucet?
Identifying The Source Of The Leak
A leaky faucet isn’t just a minor annoyance—it can waste hundreds of gallons of water annually and noticeably increase your utility bills. The first step in plumbing maintenance around the home is carefully identifying exactly where the leak originates. Examine the faucet handle, spout, and connections closely for drips or moisture buildup. Sometimes leaks come from worn-out washers inside the faucet, while other times the issue may be with corroded or loose parts. Catching the source early helps you avoid more extensive water damage later on.
Tools And Materials Needed
Before you start any repairs, gather all the necessary tools and materials. Typically, you’ll need a wrench or adjustable pliers, screwdrivers (both flathead and Phillips), replacement washers or O-rings specific to your faucet model, plumber’s tape for sealing threads, and a cloth for cleanup. Having these supplies at hand before you begin will help the repair process go smoothly and reduce frustration.
Step-By-Step Repair Process
Begin by turning off the water supply valves under the sink to prevent any accidental flooding. Next, disassemble the faucet handle carefully, keeping track of all small parts. Inspect washers and seals for signs of wear or damage, and replace any faulty components with new ones. Wrap threads with plumber’s tape to ensure a tight seal when reassembling. Once everything is back together, turn the water supply on slowly and test the faucet for leaks. If dripping persists, double-check your work or consider consulting a professional.
How To Unclog A Drain?
Common Causes Of Clogs
Drain clogs are a frequent hassle around the home and typically result from a buildup of hair, grease, soap scum, food particles, or small foreign objects like jewelry. Over time, these materials accumulate inside pipes, reducing water flow and causing backups. Being aware of what typically causes clogs helps you avoid habits that worsen the problem, such as pouring grease down the kitchen sink or letting hair wash down bathroom drains.
DIY Solutions For Unclogging
Minor clogs can often be cleared with simple DIY methods. Using a plunger creates suction that loosens blockages, while a drain snake physically removes stubborn debris. Avoid using harsh chemical drain cleaners as they can corrode pipes and harm the environment. Instead, natural mixtures like baking soda and vinegar, followed by hot water, can help break down grease and grime safely and effectively.
When To Call A Professional Plumber
If your DIY attempts don’t clear the clog, or if you notice recurring backups or slow drainage, it’s wise to call a professional plumber or general contractors specializing in plumbing services like a septic inspection. Persistent drainage issues may indicate more serious underlying problems such as damaged pipes, tree root intrusion, or septic system failures that require expert diagnosis and repair.
How To Maintain An HVAC System?
Regular Filter Replacement
One of the easiest yet most important maintenance tasks around the home is changing your HVAC filters regularly, typically every one to three months. Clean filters improve indoor air quality by trapping dust, allergens, and other particles, while also helping your heating and cooling system run more efficiently. Neglecting filter changes can strain your HVAC unit and increase energy consumption.
Cleaning HVAC Components
Beyond filters, dust and debris often accumulate on critical components like coils, blower fans, and vents. This buildup reduces airflow and system efficiency, forcing the unit to work harder and potentially leading to costly breakdowns. Gently vacuum accessible parts and wipe down vents as part of routine upkeep to maintain optimal performance.
Importance Of Annual Professional Inspections
While some maintenance can be done DIY, scheduling annual furnace repair and HVAC system inspections by licensed professionals is crucial. Technicians check for refrigerant leaks, electrical issues, and overall system health, ensuring your HVAC operates safely and reliably year-round. Preventive servicing can catch small problems early and extend the lifespan of your unit.
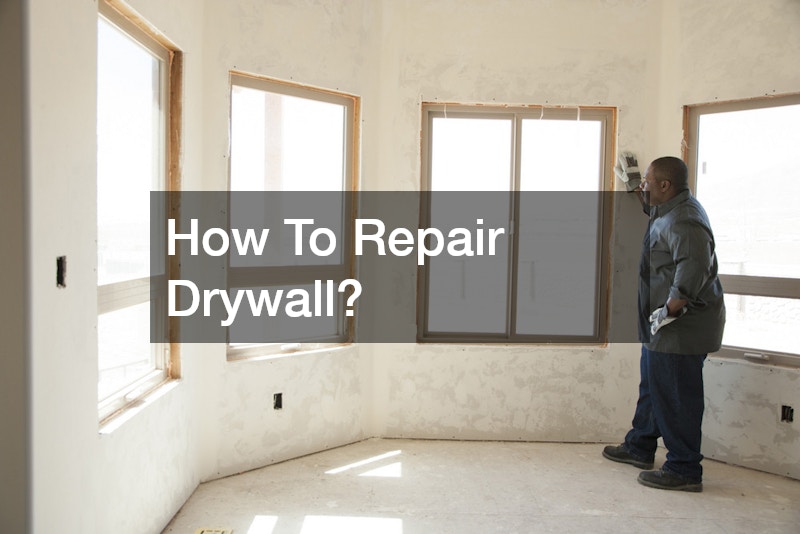
How To Repair Drywall?
Identifying The Type Of Damage
Drywall damage can range from tiny nail holes and dents to large cracks or water stains. Before starting repairs, it’s important to carefully assess the type and extent of the damage. Small holes can be filled easily, but water stains or large cracks may indicate underlying issues such as leaks or structural movement that need addressing.
Materials And Tools Needed For Repair
To properly repair drywall, gather essential materials like joint compound (also known as drywall mud), drywall patches for holes, putty knives of various sizes, sandpaper for smoothing surfaces, primer, and paint to finish the job. Having the right tools ensures a professional-looking repair.
Smoothing And Finishing Techniques
Apply joint compound over the damaged area with a putty knife, feathering the edges to blend with the surrounding wall. Allow the compound to dry completely before sanding smooth with fine-grit sandpaper. Repeat this process if necessary for a seamless finish. Once smooth, prime the patched area to seal it before painting to match the rest of the wall.
How To Fix A Running Toilet?
Understanding Toilet Tank Components
A running toilet wastes significant amounts of water and usually indicates problems with one or more components inside the toilet tank. The most common culprits are the flapper valve, fill valve, or float arm, which regulate water flow during and after flushing.
Steps To Fix Common Issues
Start by turning off the water supply and flushing the toilet to empty the tank. Remove the tank lid carefully and inspect the flapper for warping or damage, replacing it if necessary. Adjust the float arm or replace the fill valve if water continues running. Small adjustments can often fix the issue without needing a full replacement.
Preventative Maintenance Tips
Regularly inspect your toilet’s tank interior for wear and tear and replace parts proactively before they fail. Keeping these components in good condition prevents water waste and reduces your monthly water bills, making it a cost-effective maintenance practice around the home.
How To Check And Maintain Home Electrical Systems?
Basic Electrical Safety Practices
Before performing any electrical inspections or repairs, ensure your safety by turning off power at the main breaker box. Never touch exposed wires with bare hands, and always use insulated tools designed for electrical work. Following these precautions protects you from electric shocks or injury.
Routine Checks For Electrical Outlets
Inspect electrical outlets for signs of damage such as discoloration, burning smells, or loose fittings. Flickering lights or outlets that feel warm to the touch may signal wiring problems. Use a voltage tester to confirm proper operation and replace any faulty receptacles promptly to reduce fire risks.
When To Hire A Certified Electrician
Electrical repair beyond basic outlet checks should always be handled by licensed electricians or qualified local builders with experience in custom homes. They ensure installations meet code requirements and safely handle complex tasks like rewiring, breaker panel upgrades, or adding new circuits to your home.
How To Inspect And Seal Windows?

Identifying Air Leaks
Drafts from windows cause discomfort and higher energy bills by letting heated or cooled air escape. Detect leaks by feeling around window edges for cold air, or using a lit incense stick to see if smoke flickers near seals. Noticing unexplained drafts or increased utility costs often points to the need for window sealing.
Choosing The Right Sealant
Select weatherstripping or silicone-based caulk designed for exterior window applications. Weatherstripping works well for movable parts, while caulk fills permanent gaps and cracks. Using appropriate materials ensures long-lasting protection against air and moisture infiltration.
Proper Application Techniques
Start by thoroughly cleaning the surfaces to remove dirt and old sealant. Apply weatherstripping along sashes or caulk along seams in a continuous bead. Smooth the sealant with a tool or finger before it dries to create a tight, even seal. Follow manufacturer drying times to ensure durability.
How To Address Roof Leaks?
Spotting Early Signs Of Leakage
Early detection is key to preventing serious damage from roof leaks. Watch for water stains or discoloration on ceilings and walls, missing or damaged shingles after storms, and dampness or mold growth in the attic. These signs indicate the roof’s protective barrier has been compromised.
Temporary Vs. Permanent Fixes
Temporary patches like roofing tape or tar can help slow leaks during emergencies but are not substitutes for permanent repairs. Scheduling professional roofing services to assess and properly fix leaks prevents further water damage and structural problems.
Maintaining Roof Integrity
Regular roof inspections and clearing debris such as leaves or branches maintain proper drainage and reduce wear. Proper maintenance prolongs roof life, protects your home, and helps avoid costly foundation repairs due to water intrusion.
How To Maintain Gutters And Downspouts?
Removing Debris Safely
Clogged gutters can cause water overflow and damage foundations. Use gloves and safety gear to remove leaves, twigs, and dirt safely. Employ a sturdy ladder and consider using a scoop or garden trowel to clear out debris efficiently.
Checking For Proper Drainage
After cleaning, run water through gutters to ensure smooth flow through downspouts. Verify that downspouts direct water at least several feet away from your home’s foundation to prevent erosion or water infiltration that may require foundation repairs.
Repairing Damaged Sections
Inspect gutters for holes, rust, or loose sections. Apply gutter sealant to leaks and replace broken parts to maintain effective drainage. Proper gutter maintenance protects your home’s exterior and foundation from water damage.
How To Ensure Plumbing Is Running Efficiently?

Checking For Hidden Leaks
Leaks can sometimes be hidden under sinks or behind appliances, causing mold or water damage. Regularly inspect these areas for dampness, musty odors, or warped cabinetry, which are warning signs of concealed leaks. Early detection can prevent costly repairs and protect your home’s structure and indoor air quality.
Improving Water Pressure
Low water pressure often results from clogged aerators or faulty valves. Cleaning or replacing faucet aerators and checking shut-off valves can restore optimal pressure for showers, sinks, and appliances. Additionally, flushing your water heater and inspecting pipes for mineral buildup can improve overall flow.
Updating Fixtures And Appliances
Upgrading to modern, water-efficient fixtures like low-flow toilets and showerheads reduces water consumption while maintaining performance. Updated appliances also minimize the risk of leaks and improve overall plumbing system reliability around the home. Choosing ENERGY STAR-rated products further boosts efficiency and saves money over time.
Conclusion
Consistent upkeep and timely repairs around the home are key to preserving your investment, maintaining safety, and enhancing comfort. Whether you’re tackling small tasks like fixing a leaky faucet or scheduling professional chimney inspections and foundation repairs, proactive care prevents costly emergencies. Hiring experienced general contractors or a trusted local home builder can ensure complex jobs like roofing services or custom home updates are handled with expertise and quality.
By regularly addressing electrical repair needs, furnace repair, septic tank cleanings, and other critical systems, homeowners enjoy peace of mind knowing their home operates efficiently year-round. Prioritizing maintenance not only safeguards your property’s value but also supports a healthier, safer living environment. Embrace all these practical tips and inspections around the home to keep your space functioning smoothly and beautifully for years to come.